Create a Library for Your Module
React Native has a rich ecosystem of libraries to solve common problems. We collect React Native libraries in the reactnative.directory website, and this is a great resource to bookmark for every React Native developer.
Sometimes, you might be working on a module that is worth extracting in a separate library for code reuse. This can be a library that you want to reuse in all your apps, a library that you want to distribute to the ecosystem as an open source component, or even a library you'd like to sell.
In this guide, you'll learn:
- how to extract a module into a library
- how to distribute the library using NPM
Extract the Module into a Library
You can use the create-react-native-library tool to create a new library. This tool sets up a new library with all the boilerplate code that is needed: all the configuration files and all files required by the various platforms. It also comes with a nice interactive menu to guide you through the creation of the library.
To extract a module into a separate library, you can follow these steps:
- Create the new library
- Move the code from the App to the Library
- Update the code to reflect the new structure
- Publish it.
1. Create a Library
- Start the creation process by running the command:
npx create-react-native-library@latest <Name of Your Library>
- Add a name for your module. It must be a valid npm name, so it should be all lowercase. You can use
-to separate words. - Add a description for the package.
- Continue filling the form until you reach the question "What type of library do you want to develop?"

- For the sake of this guide, select the Turbo module option. Notice that you can create libraries for both New Architecture and Legacy Architecture.
- Then, you can choose whether you want a library that access the platform (Kotlin & Objective-C) or a shared C++ library (C++ for Android and iOS).
- Finally, select the
Test Appas last option. This option creates the library with a separate app already configured within the library folder.
Once the interactive prompt is done, the tool creates a folder whose structure looks like this in Visual Studio Code:
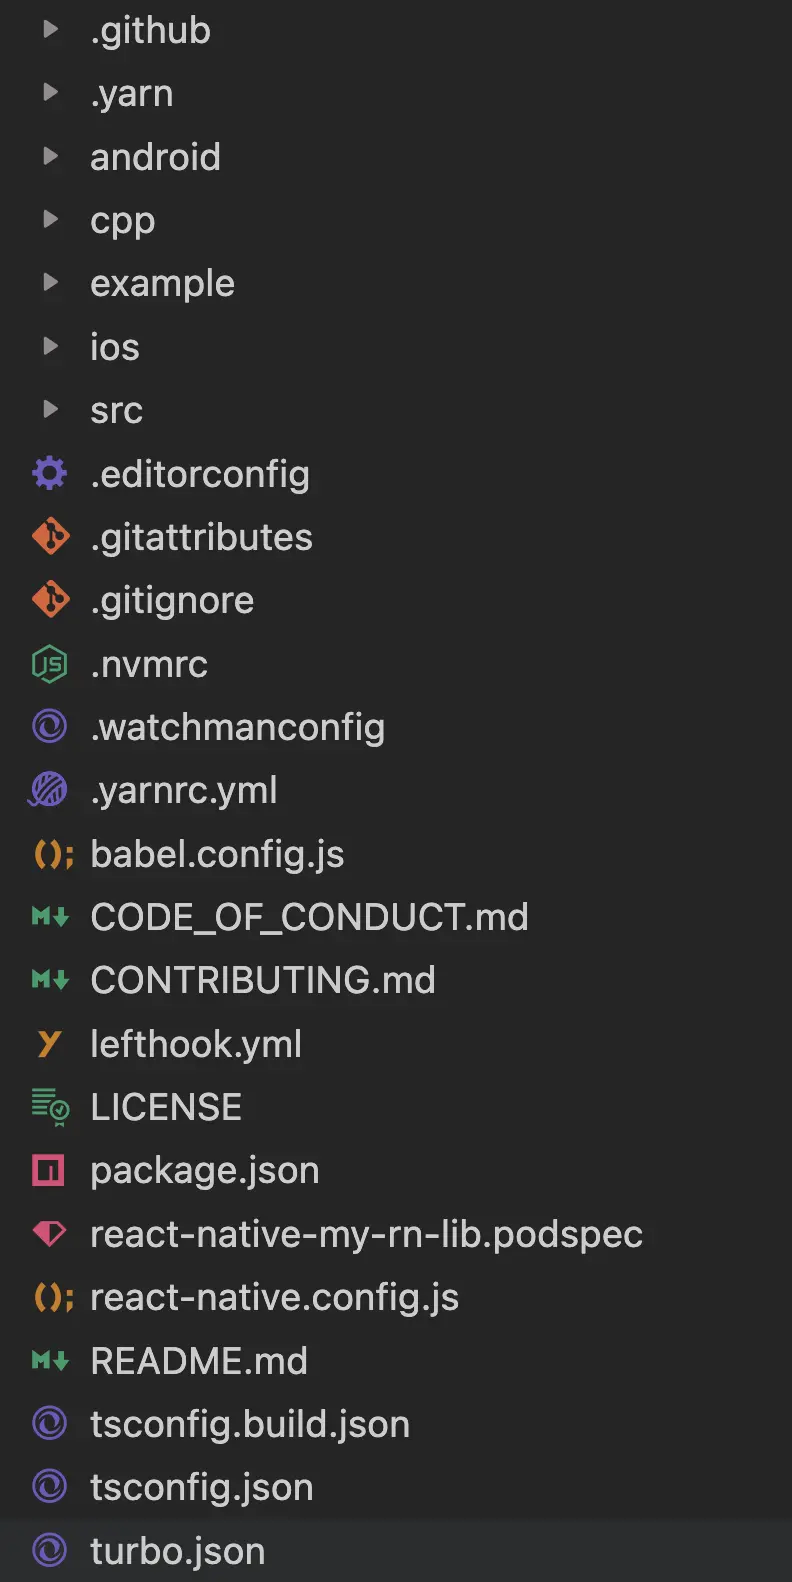
Feel free to explore the code that has been created for you. However, the most important parts:
- The
androidfolder: this is where the Android code lives - The
cppfolder: this is where the c++ code lives - The
iosfolder: this is where the iOS code lives - The
srcfolder: this is where the JS code lives.
The package.json is already configured with all the information that we provided to the create-react-native-library tool, including the name and the description of the package. Notice that the package.json is also already configured to run Codegen.
  "codegenConfig": {
    "name": "RN<your module name>Spec",
    "type": "all",
    "jsSrcsDir": "src",
    "outputDir": {
      "ios": "ios/generated",
      "android": "android/generated"
    },
    "android": {
      "javaPackageName": "com.<name-of-the-module>"
    }
  },
Finally, the library contains already all the infrastructure to let the library be linked with iOS and Android.
2. Copy the Code over from Your App
The rest of the guide assumes that you have a local Turbo Native Module in your app, created following the guidelines shown in the other guides in the website: platform specific Turbo Native Modules, or cross-platform Turbo Native Modules. But it works also for Components and legacy architecture modules and components. You'll have to adapt the files you need to copy and update.
- [Not required for legacy architecture modules and components] Move the code you have in the
specsfolder in your app into thesrcfolder created by thecreate-react-native-libraryfolder. - Update the
index.tsfile to properly export the Turbo Native Module spec so that it is accessible from the library. For example:
import NativeSampleModule from './NativeSampleModule';

export default NativeSampleModule;
-
Copy the native module over:
- Replace the code in the
android/src/main/java/com/<name-of-the-module>with the code you wrote in the app for your native module, if any. - Replace the code in the
iosfolder with the code you wrote in your app for your native module, if any. - Replace the code in the
cppfolder with the code you wrote in your app for your native module, if any.
- Replace the code in the
-
[Not required for legacy architecture modules and components] Update all the references from the previous spec name to the new spec name, the one that is defined in the
codegenConfigfield of the library'spackage.json. For example, if in the apppackage.jsonyou setAppSpecsascodegenConfig.nameand in the library it is calledRNNativeSampleModuleSpec, you have to replace every occurrence ofAppSpecswithRNNativeSampleModuleSpec.
That's it! You have moved all the required code out of your app and in a separate library.
Testing your Library
The create-react-native-library comes with a useful example application that is already configured to work properly with the library. This is a great way to test it!
If you look at the example folder, you can find the same structure of a new React Native application that you can create from the react-native-community/template.
To test your library:
- Navigate to the
examplefolder. - Run
yarn installto install all the dependencies. - For iOS only, you need to install CocoaPods:
cd ios && pod install. - Build and run Android with
yarn androidfrom theexamplefolder. - Build and run iOS with
yarn iosfrom theexamplefolder.
Use your library as a Local Module
There are some scenario where you might want to reuse your library as a local module for your applications, without publishing it to NPM.
In this case, you might end up in a scenario where you have your library sitting as a sibling of your apps.
Development
├── App
└── Library
You can use the library created with create-react-native-library also in this case.
- add you library to your app by navigating into the
Appfolder and runningyarn add ../Library. - For iOS only, navigate in the
App/iosfolder and runbundle exec pod installto install your dependencies. - Update the
App.tsxcode to import the code in your library. For example:
import NativeSampleModule from '../Library/src/index';
If you run your app right now, Metro would not find the JS files that it needs to serve to the app. That's because metro will be running starting from the App folder and it would not have access to the JS files located in the Library folder. To fix this, let's update the metro.config.js file as it follows
const {getDefaultConfig, mergeConfig} = require('@react-native/metro-config');

/**
 * Metro configuration
 * https://reactnative.dev/docs/metro
 *
 * @type {import('metro-config').MetroConfig}
 */
+ const path = require('path');

- const config = {}
+ const config = {
+  // Make Metro able to resolve required external dependencies
+  watchFolders: [
+    path.resolve(__dirname, '../Library'),
+  ],
+  resolver: {
+    extraNodeModules: {
+      'react-native': path.resolve(__dirname, 'node_modules/react-native'),
+    },
+  },
+};

module.exports = mergeConfig(getDefaultConfig(__dirname), config);
The watchFolders configs tells Metro to watch for files and changes in some additional paths, in this case to the ../Library path, which contains the src/index file you need.
The resolverproperty is required to feed to the library the React Native code used by the app. The library might refer and import code from React Native: without the additional resolver, the imports in the library will fail.
At this point, you can build and run your app as usual:
- Build and run Android with
yarn androidfrom theexamplefolder. - Build and run iOS with
yarn iosfrom theexamplefolder.
Publish the Library on NPM
The setup to publish everything on NPM is already in place, thanks to create-react-native-library.
- Install the dependencies in your module
yarn install. - Build the library running
yarn prepare. - Release it with
yarn release.
After a while, you'll find your library on NPM. To verify that, run:
npm view <package.name>
where package.name is the name you set up in the package.json file during the initialization of the library.
Now, you can install the library in your application by running:
yarn add <package.name>
For iOS only, whenever you install a new module with some native code, you have to reinstall CocoaPods, by running bundle exec pod install (recommended) or pod install if you are not using Ruby's Bundler (not recommended).
Congratulations! You published your first React Native library.